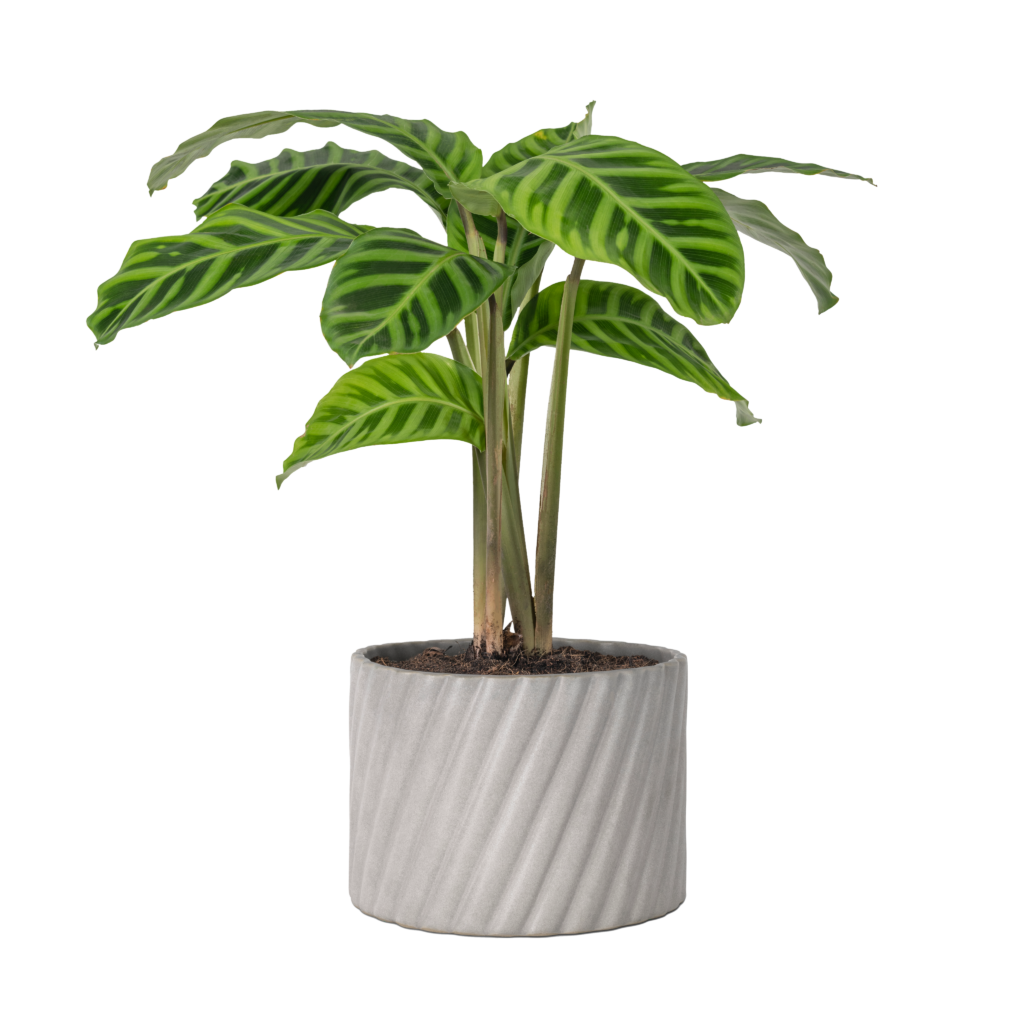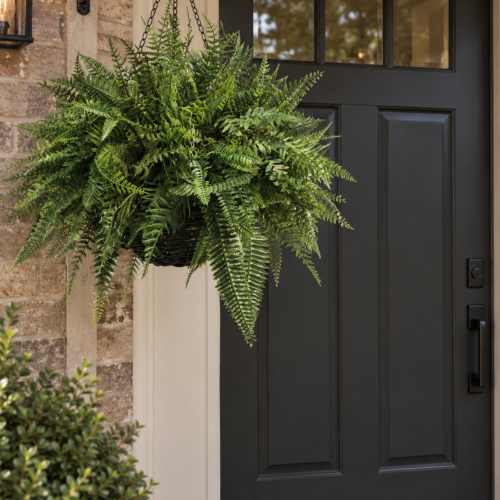
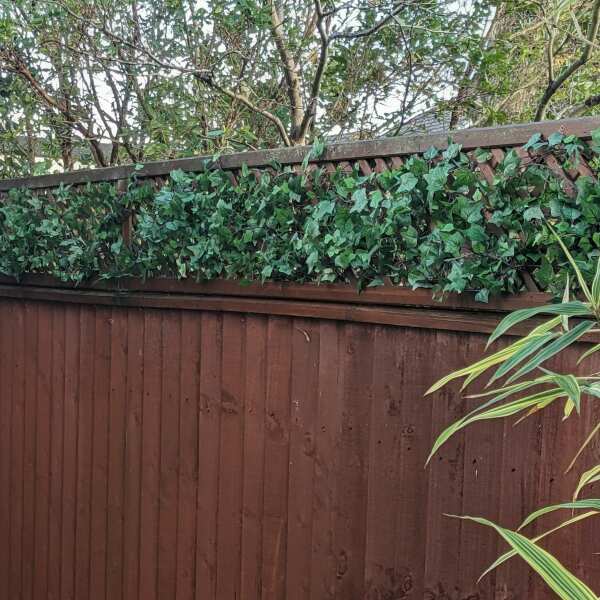
The fastest, lowest maintenance way to hide a tired fence is to fix artificial greenery to it. Three approaches cover almost every situation: modular green wall panels for a lush, botanical look, artificial hedge screening rolls for uniform privacy, and expandable trellis with integrated foliage where a lighter screen suits the space. Choose UV stable foliage for outdoor use and match the density to the level of privacy you want.
Why artificial greenery hides a fence fast
Artificial foliage covers an eyesore in hours rather than having to wait seasons for hedges to grow. There is no waiting for climbers to establish, no soil or irrigation, and no risk of patchy growth on shaded boundaries. UV stable outdoor foliage keeps its colour, so the screen stays consistent through winter and high summer. You can also take a modular approach, creating cut outs for lights, shelves or hooks where you need them, or wrapping posts and corners neatly without gaps.
In small gardens and courtyards the difference can be dramatic. The right foliage turns a hard boundary into a soft, green backdrop for planting and furniture. In busier spaces, such as hot tub areas or balcony edges, consistent, dense coverage blocks sightlines without the upkeep of a living hedge.
Options for a covered fence using artificial living wall panels and faux foliage
Several product types, including faux green walls, work well on fences. Each gives a slightly different look and level of privacy, and each fixes in a slightly different way.
- Artificial green wall panels create a botanical feature with mixed foliage, depth and texture, with multiple variants available for different looks. They are modular, commonly supplied in 50cm squares and 1m panels, and clip together to suit any width and height. They are ideal for statement backdrops, including as decorative backdrops for events and weddings, and for disguising uneven fence lines because the mixed leaf shapes distract the eye.
- Artificial hedge screening rolls deliver an even, hedge like surface. Boxwood and laurel styles are popular for full privacy and a clean, uniform finish. Rolls are quick to install across long runs. If this is the look you prefer, explore our artificial hedges for suitable options that work well on fences.
- Expandable trellis with integrated leaves provides a lighter, airy screen with dappled coverage. It softens the view without creating a solid wall of green, useful where airflow, light and a relaxed look matter.
- Freestanding green screens mounted in planters solve rented or shared boundary situations where you cannot fix into the neighbour’s fence. They also help where a fence is structurally weak and better avoided.
Every option can look realistic outdoors, provided you select UV protected foliage designed for exterior use. For indoor and outdoor environments, including sheltered spaces with strict fire codes, determine whether the installation is for indoor or outdoor use before choosing foliage specified as fire resistant.
Artificial edge and green wall, what each term means
You will often see “artificial edge” used online as a near miss for artificial hedge. It refers to the same family of products, hedge screening rolls and dense foliage panels used to create instant privacy. Artificial green wall is the broader term for modular foliage panels that replicate a living wall’s layered, botanical look. Both methods hide a fence successfully. Choose an artificial hedge if your goal is a tidy, uniform screen with strong privacy. Choose a green wall if you want a visual feature with mixed leaves, texture and a more natural feel.
Both product families fix to a simple support, such as timber panels, battens, chain link or masonry. Both can be cut to size and include flexible backing meshes that wrap around posts and step neatly around corners.
Planning, measuring and calculating coverage
Good planning makes installation straightforward and avoids last minute shortfalls, starting with identifying the wall type so you can choose the right fixings and installation method.
Start by measuring the fence width in metres, then the height from the ground to the top rail or capping. Note any changes in height along the run, gaps, gates, posts and returns. Sketch the area and mark obstructions so you can plan where to start, how to step panels, and where cuts will land.
For green wall panels, many systems use 50cm x 50cm modules, sold individually, which makes working out how many panels you need straightforward. A straight 3m width at 1.8m high is 3m x 1.8m, or 5.4 square metres. That equates to 22 panels at 0.25 square metres each, so the total quantity is easy to estimate. If you prefer 1m x 1m panels for speed, you would order six, then add one more panel to allow for cuts and keep the price calculation accurate.
For hedge screening rolls, match roll height to the fence height to minimise trimming and control overall quantity and waste. Standard heights include 1m, 1.2m, 1.5m and 1.8m. Rolls are then run horizontally and fixed regularly along the rails or mesh.
Add a small contingency. A 5 to 10 percent allowance covers wastage from cuts, scribing around posts and any mis measures. Include enough fixings to place a tie or screw roughly every 25 to 30cm along rails and posts, and at all panel joins.
Finally, check the fence condition and support surface. Fixing to sound timber or a rigid mesh is quicker and safer, but you should also assess the wall type before installation so the method suits what you are fixing into. Tighten loose boards, replace rotten rails and confirm posts are solid before you start.
Foliage style, artificial hedge, colour and privacy density
The right foliage is a design choice as much as a practical one. A simple boxwood or laurel hedge gives an even, tailored look that suits contemporary spaces and clean lines. Mixed foliage panels, such as fern, ivy, meadow or moss rich blends, create layers, movement and shadow that feel closer to a natural hedgerow, with different foliage styles producing different visual effects and bringing a sense of nature and lush greenery to the fence line.
Privacy comes from density. Hedge screening and some green wall styles use a high leaf count and tight backing to block sightlines, which is helpful for hot tub areas, windows overlooked by neighbours, and as privacy screens. A lighter trellis or a mixed panel with more open sections softens a boundary and adds aesthetic appeal without making it feel enclosed, useful on narrow patios and balconies.
Shade and sunlight also matter. On a north facing boundary, deeper greens look rich and natural, and artificial foliage can also work well where natural light is limited. On a south facing fence, a mix with brighter tips and lighter leaves can read better in strong sun. If the fence sits in full sun for most of the day, choose UV stable foliage specifically stated for outdoor use, though unlike real plants it does not rely on direct sunlight to keep its appearance.
Fixing methods by fence type
You can achieve a secure, neat finish on almost any boundary by matching the fixing method to the fence construction.
Timber lap or close board panels
These are the most common garden fences, and they are straightforward to install on with basic tools. Fix panels or rolls to the horizontal rails and the vertical arris rails rather than just to the slats. Stainless screws with large washers grip the plastic backing neatly without crushing it. Galvanised staples also work on thicker rails where you can keep them hidden behind foliage, and a staple gun can be used on timber where the backing suits stapling. For long runs, fix across the top, middle and bottom rails, then add extra fixings down each post.
Offer each green wall panel to the fence, ensure it is square, then take a fixing through the mesh at a leaf junction to create a neat fixing point where the screw and washer disappear into the foliage. Work from a visible corner and step outwards, clipping panels to each other as you go, and check each next panel before clipping and fixing so joins stay aligned.
Slatted timber fencing
Slatted fences have large gaps. Add vertical battens at 30 to 40cm centres to create solid fixing points behind the foliage. This gives better support and reduces movement in wind. Fix panels or rolls to the battens using screws and washers or cable ties looped through pre drilled holes in the battens.
Chain link, mesh or railings
On chain link or welded mesh, heavy duty UV cable ties are fast and effective. Pull the screen flat against the mesh and place ties evenly every 25 to 30cm. This gives better support and reduces movement in wind, and when fixed correctly, quality artificial green walls are designed to withstand wind, rain and strong sunlight. On railings, where gaps are larger, consider first fitting a secondary mesh such as galvanised wire netting to provide a continuous surface. Then tie the foliage to that mesh. This avoids drilling the metalwork and makes removal simple if required in future.
Brick, block or concrete walls
For solid walls such as brick, block or concrete, take a two stage approach. First, fix treated timber battens or a powder coated steel mesh to the wall using masonry plugs and screws. Then fix foliage panels to the battens or mesh, prepared in the same way you would other rigid wall surfaces before fixing panels. This avoids placing dozens of plugs through the foliage and allows you to adjust and clip panels on the flat. Use stainless or galvanised fixings outdoors and check for services before you drill.
Composite fence panels
Composite manufacturers sometimes advise against fixing directly to panel faces. Create an independent frame using treated battens fixed to posts or free standing planters, then attach the foliage to the frame. This protects any warranty on the composite panels and lets you remove or re position the greenery later if needed.
Universal installation steps
Follow a simple sequence to keep the job tidy and predictable.
- Mark a reference line at the top to keep panels straight, using a level or a chalk line on the fence.
- Start in the most visible corner and fix the first panel square, using a screw and washer at the top centre to hold position, then secure the corners.
- Choose the right panels first, then clip adjoining panels to the first one, checking alignment every few modules so joins stay tight and foliage remains consistent.
- Add intermediate fixings across rails or battens at regular centres, then work down the fence in rows rather than columns to avoid creeping out of line.
- Cut and scribe around posts and returns, test fit, then fix permanently. Fill visible cut edges by teasing nearby foliage over the mesh.
Tools and fixings checklist
Gather a tape measure, pencil, level and chalk line. Have tin snips or strong scissors for the backing mesh. Use stainless screws with penny washers, or UV stable cable ties. Where required, add drill bits, masonry plugs and driver bits. Wear gloves and safety glasses for cutting and drilling.
Cutting panels, finishing edges and corners
Most green wall and hedge screens use a plastic mesh that cuts cleanly, and high-quality panels often use durable plastic material in the backing mesh. Turn the panel over so you can see the grid, then use tin snips to cut just outside a row of nodes. This gives a neat edge and preserves tie points for fixings. Offer the panel to the fence and mark any notches around posts or cappings. Make several small trims rather than one large one, checking as you go.
At edges, a shallow overlap hides cut lines. Tease or cable tie neighbouring foliage over the mesh to disguise any exposed backing. Where you want a framed finish, run a stained timber batten up the sides and across the top. This makes the screen feel deliberate and hides screws and edges at the same time. Around external corners, wrap the panel, clipping it to itself on the return to keep the foliage flowing naturally.
If you prefer an engineered edge, some systems offer purpose made edging strips. These slide over cut mesh for a crisp line along the top of a fence or gate and help cut sections hold their chosen shape.
Durability, UV stability and fire performance
Artificial green walls should state UV protection in the description. UV stable foliage with built-in uv blockers resists fading from uv rays for years in British conditions. South facing walls and coastal sites receive more UV and wind, so choose higher grade UV foliage and add more fixings in exposed spots, as these products are engineered to withstand changing weather conditions in outdoor environments. As a broad expectation, most artificial living wall products, including artificial living wall panels, last at least five years outdoors in the UK depending on exposure and care. Indoors, artificial green walls can last up to 10 years.
For interiors and covered courtyards with fire safety requirements, look for fire rated foliage that meets recognised test standards for flame resistance. This is useful for hospitality, retail spaces and offices where a risk assessment or building manager may require materials that inhibit flame spread. The look and installation are similar, but the specification gives peace of mind. An artificial living wall can also work well in retail spaces when a low-maintenance feature is needed.
Hardware matters too. Outdoors, stick with stainless or galvanised fixings. They resist corrosion, keep panels secure and avoid rust streaks on fences and walls.
Care, cleaning, low maintenance and seasonal checks
Artificial greenery offers minimal upkeep, and it eliminates the need for specialist plant care. A light clean restores colour and removes dust or pollen.
Work from the top down. For outdoor screens, a soft brush and a bucket of lukewarm water with a mild detergent is enough. Rinse gently with a watering can or light hose spray. Avoid chemical patio cleaners and keep any pressure washer well back to protect leaves and fixings.
Once or twice a year, check ties and screws, especially after winter gales, to help maintain the screen’s appearance over time. Artificial edging around adjacent beds can also reduce the migration of weeds into flower beds. Tighten what has worked loose and add extra ties where a panel can move. Clear trapped leaves and debris at the base so water can drain freely and timber rails stay dry.
Design ideas to blend with real planting
Artificial and real greenery mix well. A few simple touches help the fence look natural in its setting, and the same approach can work for smaller green wall sections in living rooms as a feature wall indoors.
Add planters along the base with real ferns, grasses or seasonal colour to create depth at ground level. On sunny fences, trailing plants in pots hung on hooks break up the line and make the screen feel planted rather than applied; this mix can enhance the overall visual appeal. Combining artificial foliage with real plants also softens the transition and keeps the display believable. Outdoor string lights or a slimline wall light bring the foliage to life in the evening and help it look fresh. A narrow shelf fixed across two or three posts gives you a place for herbs, lanterns or small pots and turns the fence into one of those simple feature walls. In long gardens, vary foliage type or add a framed section to avoid a single, unbroken run of the same texture.
On balconies and roof terraces, keep wind in mind. Lighter trellis screens soften railings without becoming a sail, while denser panels work best when fixed to solid surfaces and broken into smaller framed sections; the same layered look can also suit interior spaces where real foliage is impractical.
Limits, trade offs and alternatives
Artificial screens are quick, consistent and low maintenance, but they are not the only route. Real green walls can improve air quality, add cooling through evapotranspiration and support biodiversity, while artificial hedges do not offer the same ecological value as natural plants.
Natural climbers eventually cover a fence but need patience, pruning and, in many cases, support wires, regular watering and ongoing plant care, and living green walls also need irrigation and routine maintenance. In deep shade or exposed coastal sites, growth can be patchy. Living systems also need careful plant selection for the environment. Painting or staining a fence is cost effective, although it does not solve privacy. Reed and willow screens attach quickly, give a rustic look and allow airflow, but they weather faster and usually offer less privacy than a dense hedge screen.
A few practical limits are worth noting. Very windy positions call for careful fixing and, in some cases, a more open trellis style to let wind pass through the screen. Vertical living-wall systems may also need specialised installation and structural support. Shared boundaries need agreement with neighbours. If a fence belongs to the property next door, fix a freestanding frame on your side rather than screwing into their panels. Where the base sits in constant shade and damp, use treated battens and keep foliage a small distance off the fence so air can circulate.
Budget factors and buying tips
Costs vary by style, size and specification, so the simplest way to plan a budget is to total the square metres you need, check the regular price before any sale or trade discount, then compare panel types, with some standard panel combinations offering great value. More densely foliated panels and mixed foliage green walls tend to sit above entry level hedge screens. UV and fire rated specifications cost more than standard indoor foliage, for good reason. Fixings are inexpensive but do add up across long runs, as does the time required where cutting and scribing are complex, and on larger orders it is worth confirming supply and lead times in advance.
If you are unsure about texture or colour, order enough panels for a test section on the fence. Seeing foliage in your light is the best way to judge realism, durability and whether high quality materials have been used, and sampling also helps match the panel choice to your project needs. Once installed, adjust the panel spacing and leaf direction by hand so neighbouring modules blend visually. A few minutes of fluffing foliage makes joins disappear.
On larger projects, consider breaking the run into framed bays. This reduces visible repetition, uses standard panel sizes efficiently and makes future maintenance simpler. Where returns, changes of height or gates occur, plan those zones on paper first so cuts land in the least visible spots, which also makes budgeting more predictable and can be the ideal solution when you need firmer cost control.
Hot spot uses and smart applications
Hot tub and spa areas gain immediate privacy with a dense hedge or a mixed green wall that improves the outdoor space, helps transform the area, and stops sightlines while keeping the space relaxed and calm.
Balcony edges and roof terraces look softer with trellis or slim mixed foliage panels. These provide cover without making urban environments feel boxed in.
Bin stores and service corners tidy up instantly when you add a single bay of panels on a simple timber frame. It hides clutter, improves neglected exteriors, covers ugly walls, and gives the eye something nicer to rest on.
Pet runs and side returns feel more welcoming with a soft, green boundary. Choose durable, UV stable panels and place fixings where paws cannot pull them.
Commercial backdrops for photos, signage and menus work well with mixed green walls in retail stores, and faux living walls also suit event settings. Fire rated foliage is available for public interiors when needed.
Troubleshooting a tricky fence
Not every fence is perfectly straight or square. Where posts step forward, cut narrow strips of panel to wrap around the post, then fix a full panel to the return. If a fence height changes, start each new height with a full row at the top so the sightline stays tidy and place trimmed rows at the bottom where they are less visible.
On old, uneven timber, fix horizontal battens to create a level plane before adding foliage. This makes installation faster and produces a more professional result. If you discover unexpected cables or pipes on a wall, stop and reroute battens to avoid drilling near them.
Order a one day transformation
A single boundary run often fits comfortably into a day with simple preparation. Clear the fence line first, prune back any overhanging branches and wash the panels to remove dust. While the fence dries, set out your panels and check the pattern so repeats are not obvious. Mark your top line, fix the first module square, then work across in rows. Leave cutting and scribing around posts until the main field is in place. Finish with a quick clean down and a check of fixings at corners and edges.
Plan your fence green wall
Ready to cover a tired boundary or create instant privacy for a hot tub, balcony or courtyard with artificial green walls? Choose your foliage style, measure the fence, then build a neat, modular screen with classic elegance that looks good all year. If you need help picking a panel or confirming suitability indoors or outdoors, the Evergreen Direct team can advise on UV stable and fire rated options and the best way to fix them to your fence. You can also contact the team directly for friendly, practical advice